My Students
February 19, 26 and March 12, 2017 Avalon - “Introduction to Weaving”
It was a joy to teach Avalon Hobson. She learned very quickly and always had a smile on her face. She came to my home on February 19th, 26th and March 12, 2017 and spent four hours each time she came for a total of twelve hours.
On the first day she wound her warp on my warping board, learned how to tie the cross on the warping board and then make a chain which enabled her to take her warp off the board in an orderly fashion. She then wound her warp onto the back of the loom, threaded the heddles, then the reed and tied her warp onto the front of the loom. By the end of day 1 she was all set to weave.
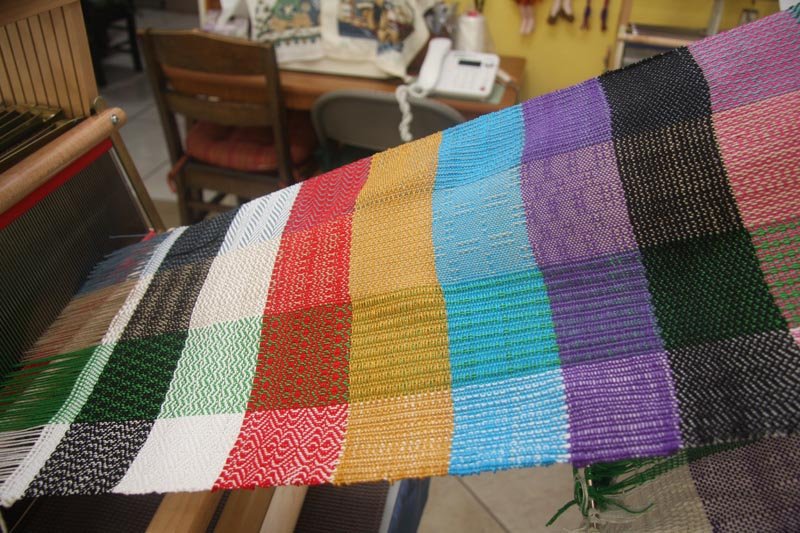
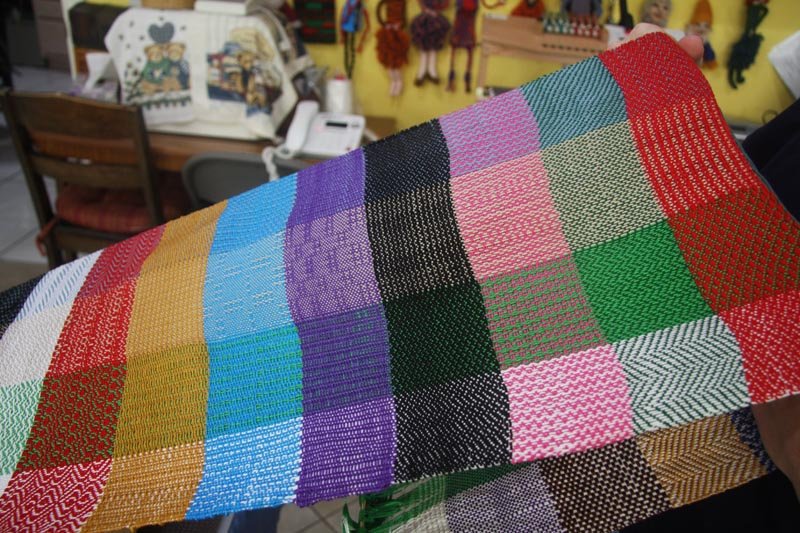
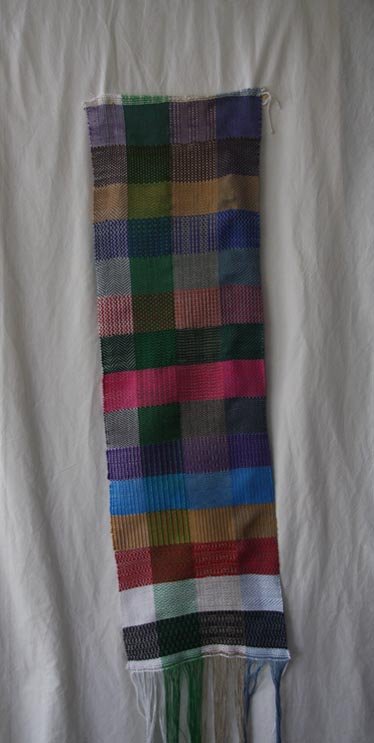
In this class my students thread the loom with four different patterns. When they have finished weaving they go home with a sampler of 60 different woven designs. They each receive a notebook with all the patterns they will weave. Next to each pattern they will learn how to make a butterfly of each color of weft and glue it into their notebook for future reference.
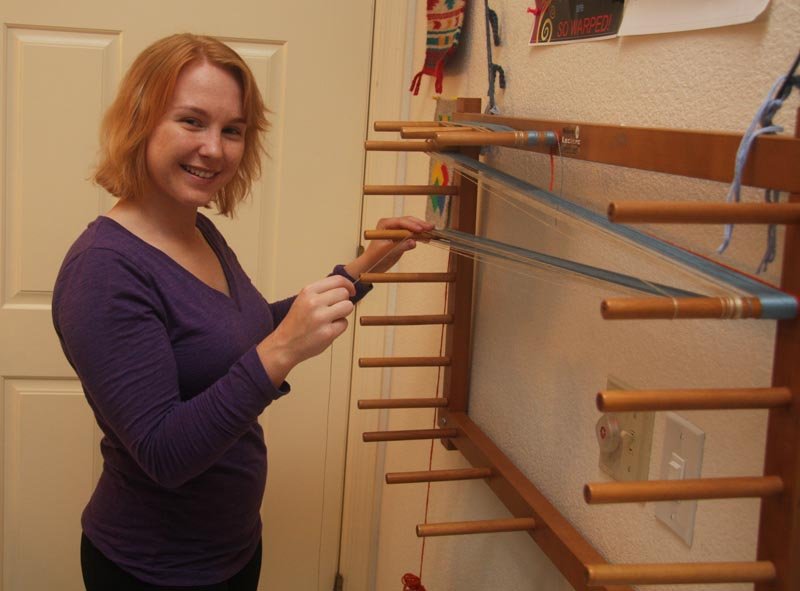
Avalon is winding her warp on the warping board.
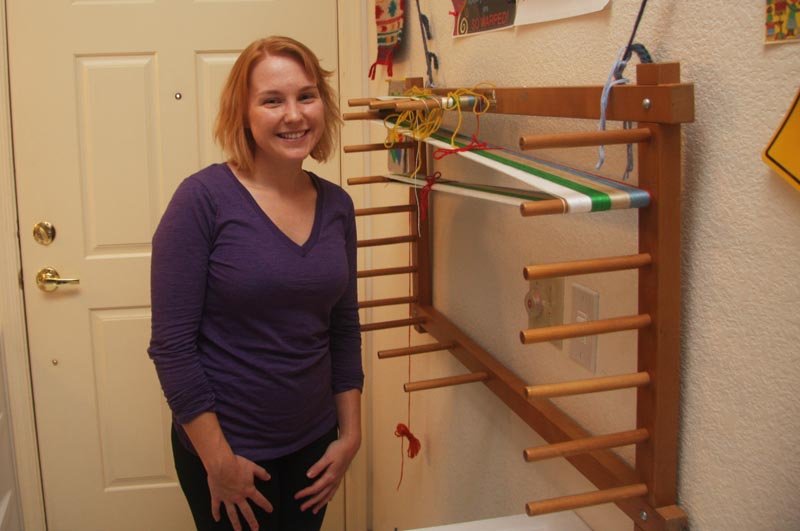
Warp is wound, cross is tied and so is the rest of the warp.

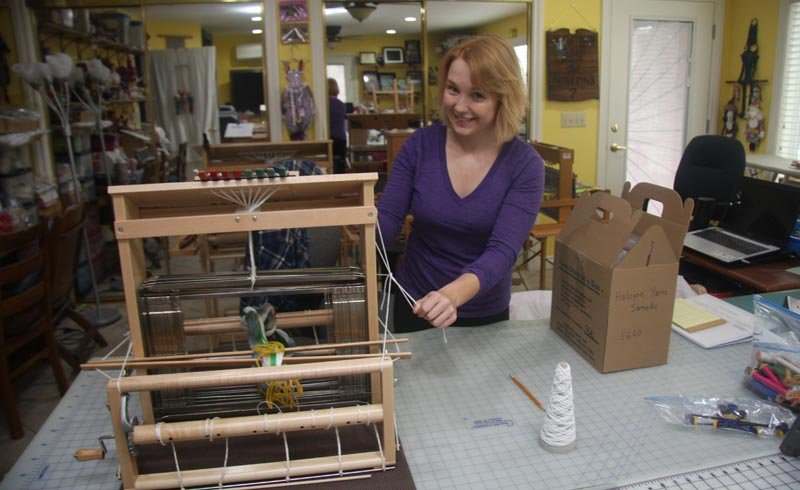
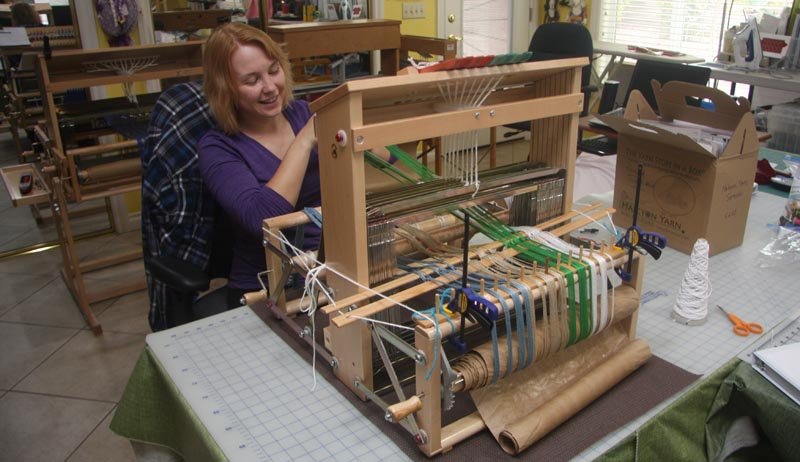
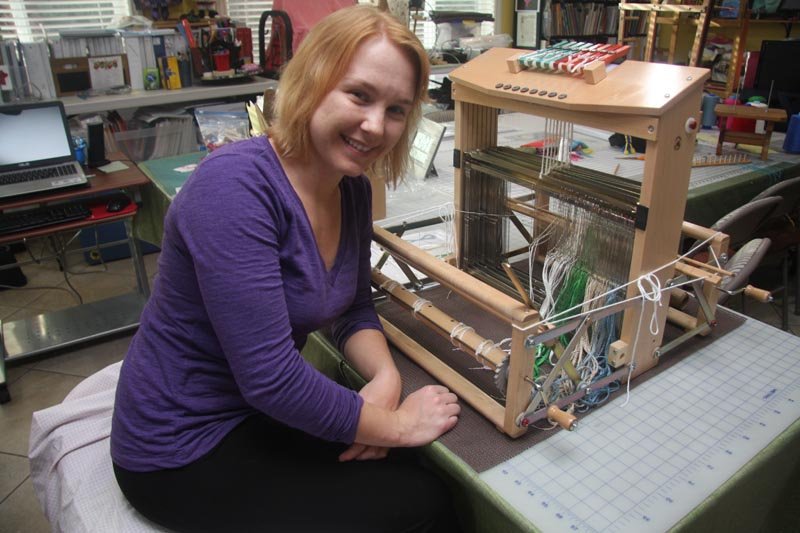
A happy student.

Close-up of warp on the warping board. All ready to take off.

Chain is made and ready to be put on the loom.
Lease sticks have been inserted into the chain and placed on the loom.
Tying the lease sticks to the loom is important.
Another step completed.
A raddle is tied onto the back of the loom. The warp is spread out for the width that is needed to keep it nice and even.

Back view of Avalon separating her warp.
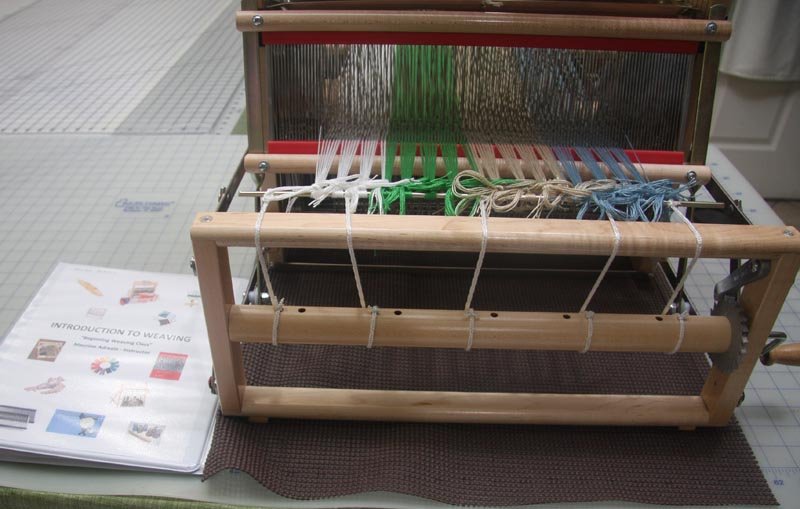
Rear view - all set for threading.
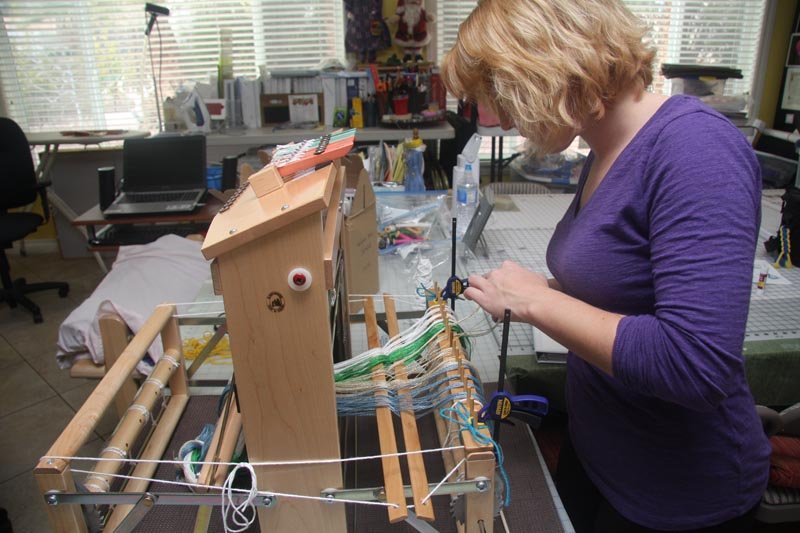
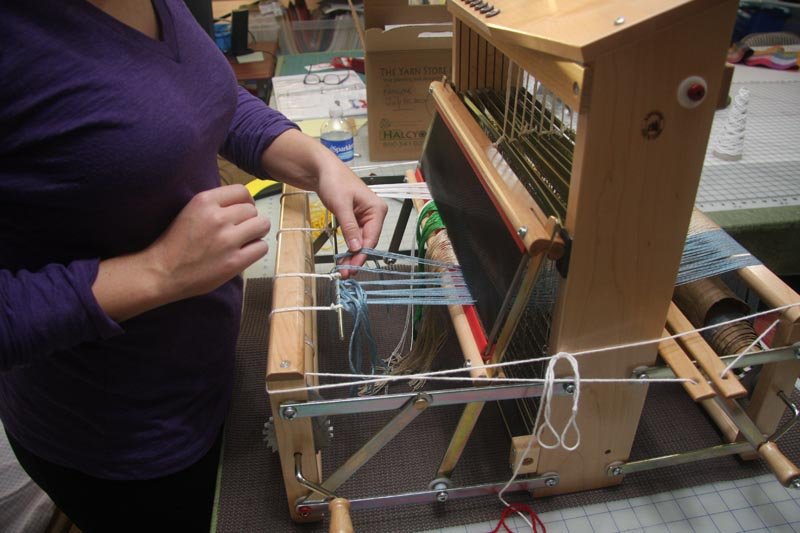
Back view - The lease sticks are put into the cross of the warp and from there you can thread the loom.
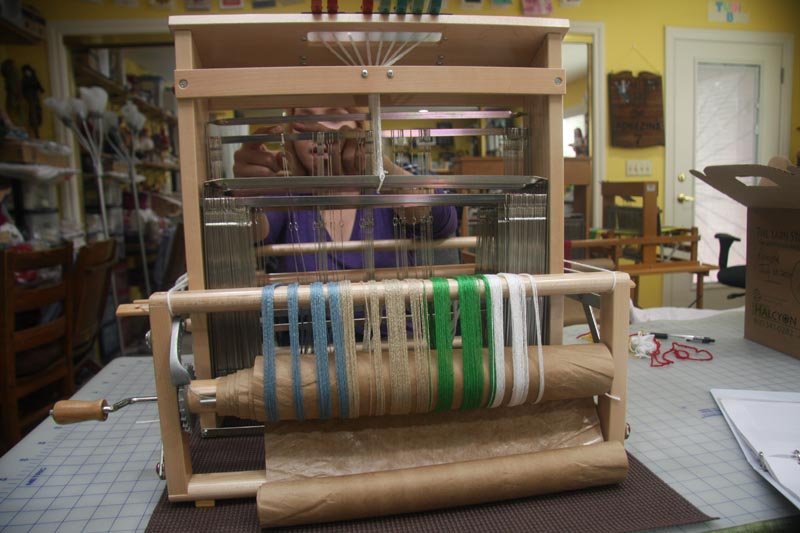
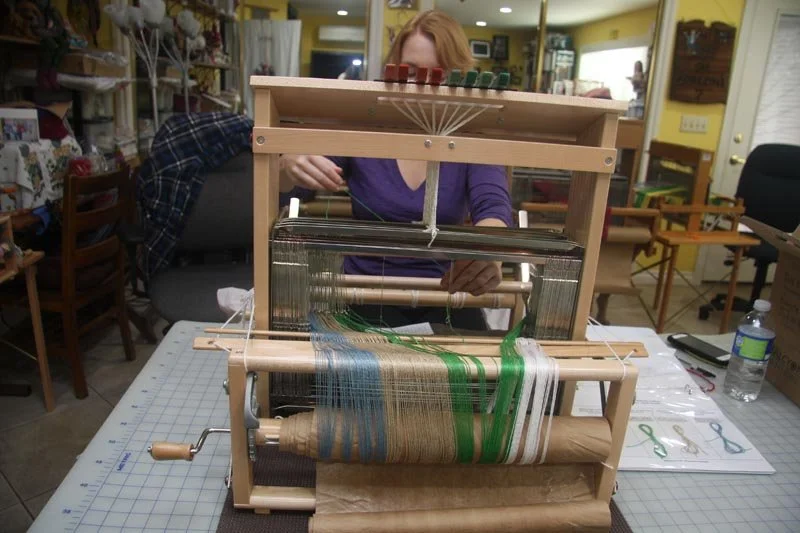
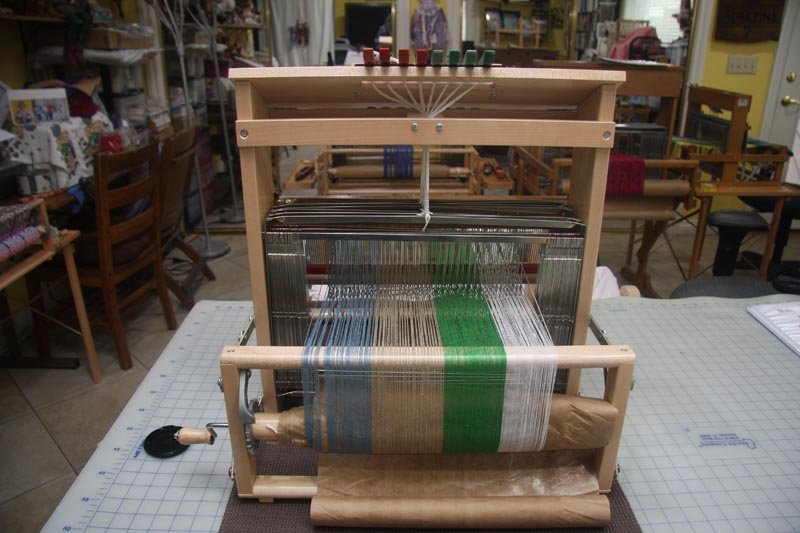
The warp is wound onto the back of the loom and is separated by paper.
Keeping the warp straight and even is very important as you wind the warp onto the back of the loom.
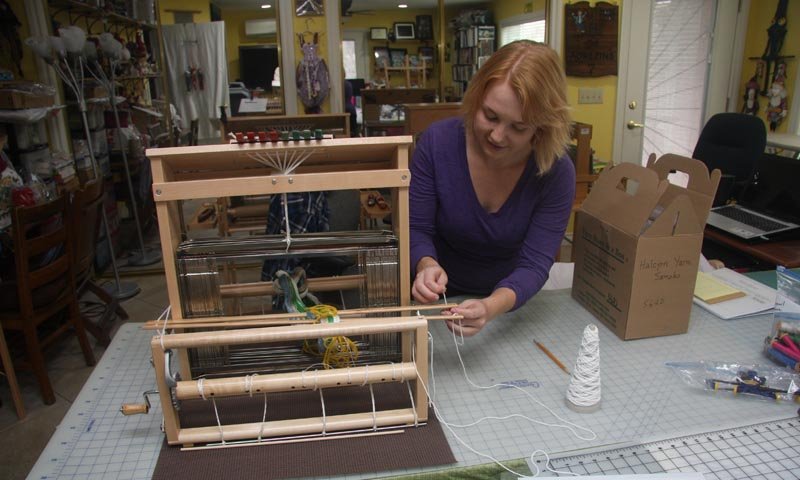
Next step is counting your heddles to make sure you have the correct number before threading the loom.
Rear view of Avalon counting the heddles.
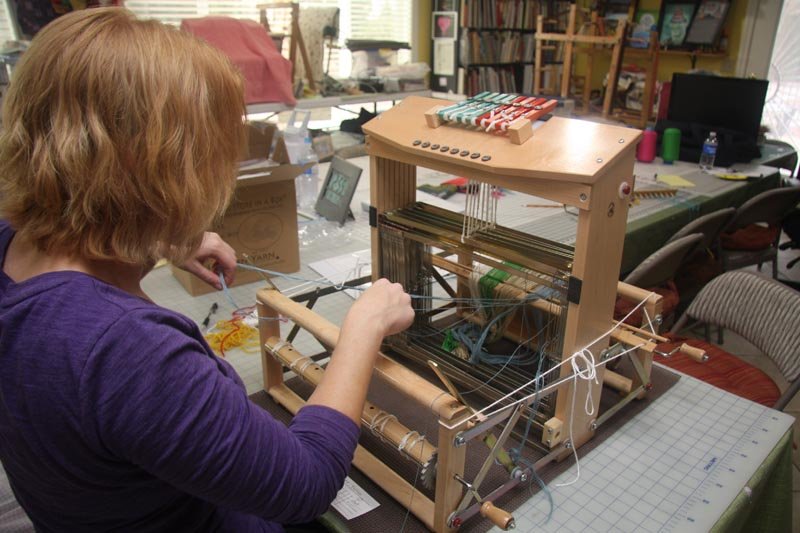
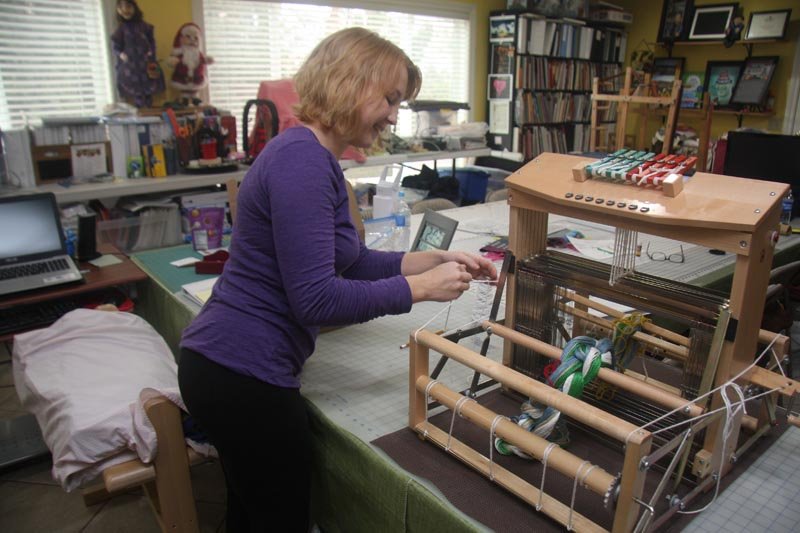
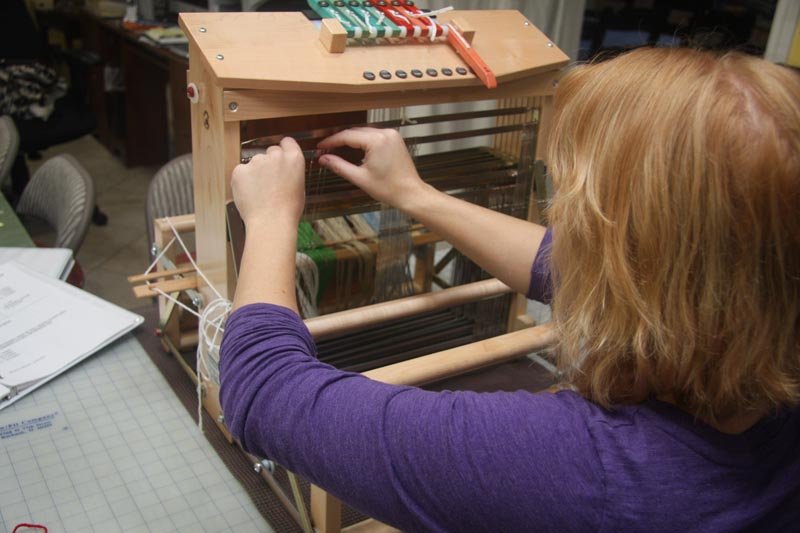
Threading the heddles gives you your pattern.
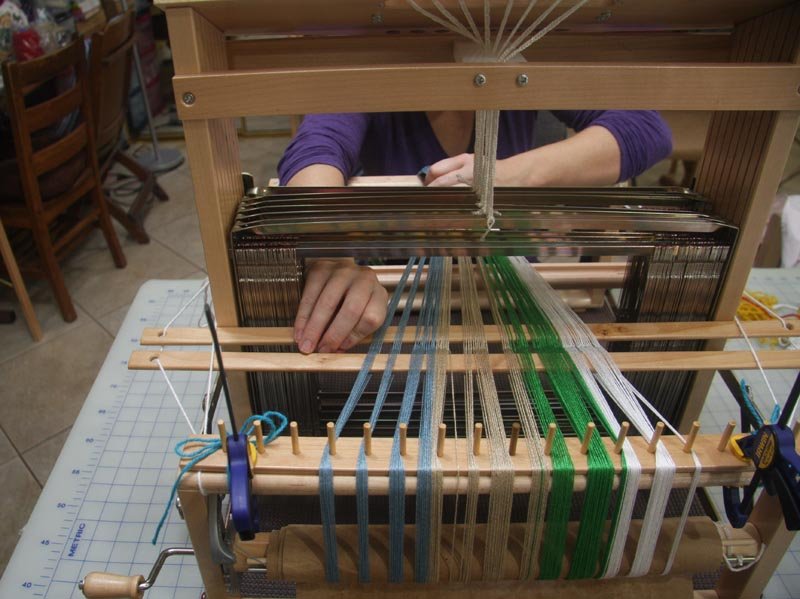
Back view of threading the heddles.
Heddles are all threaded.
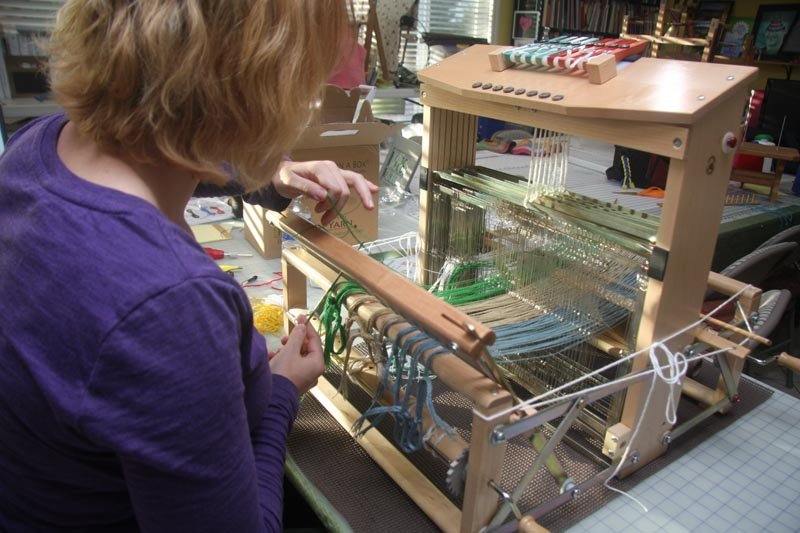
Threading the reed to space out the warp.
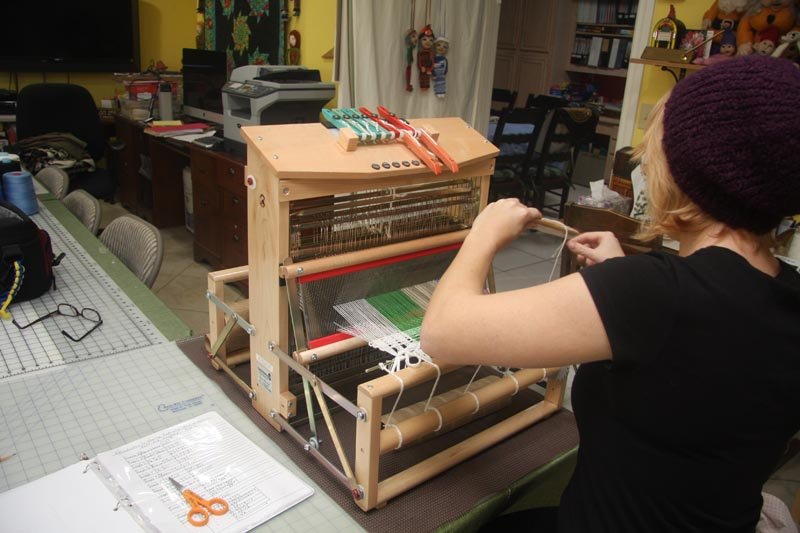
Last step before weaving is to tie the warp onto the front beam of the loom.
Warp is all tied on.
Close-up of tied on warp.
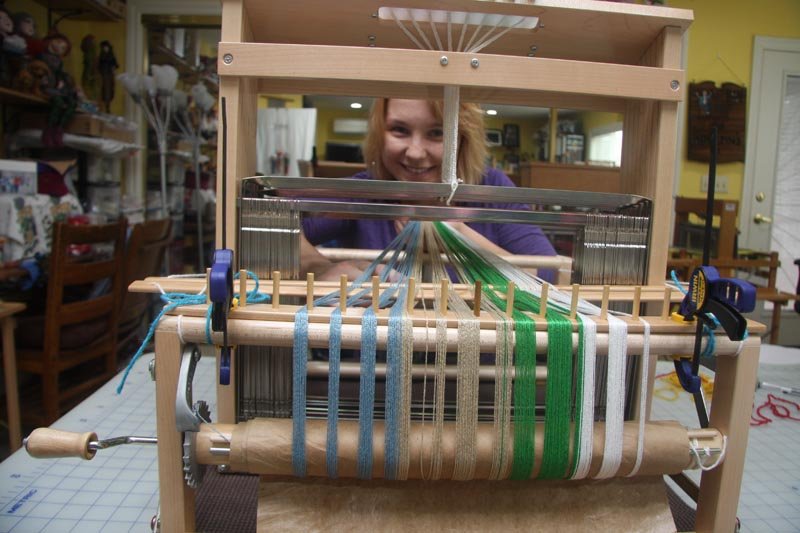
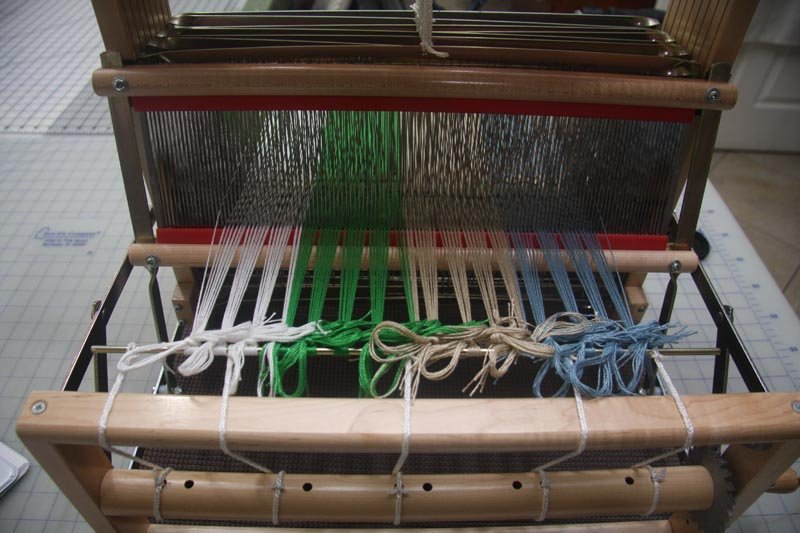
Back view of warp all set to be woven on.
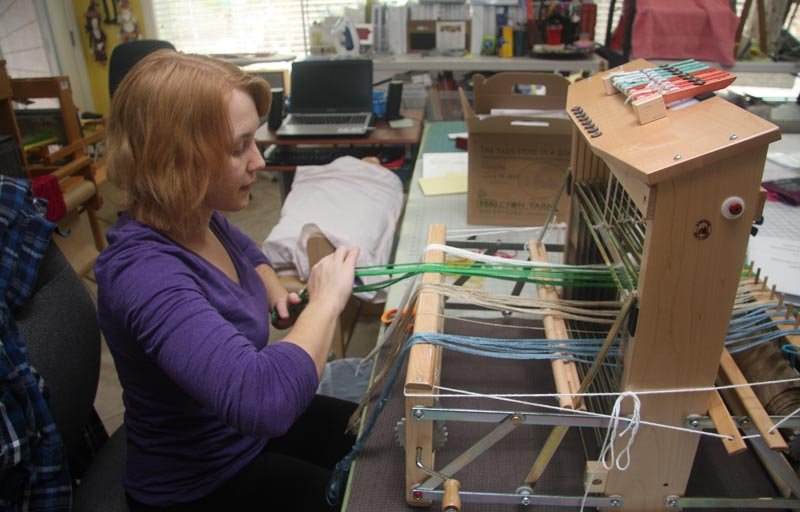
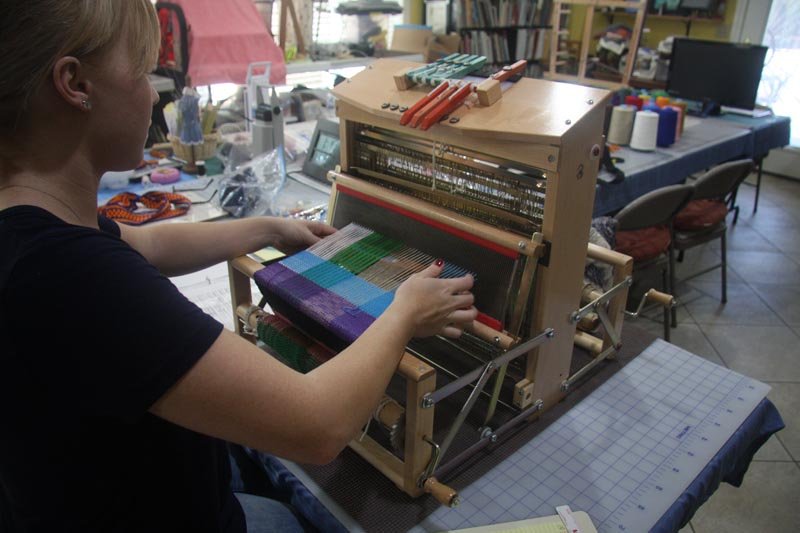
Avalon is weaving the heading to close up the beginning of her warp.
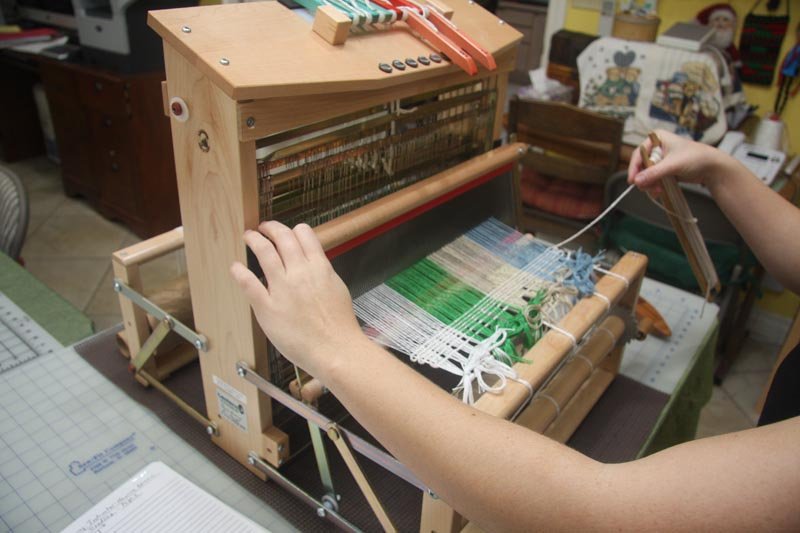
Close-up of the heading.
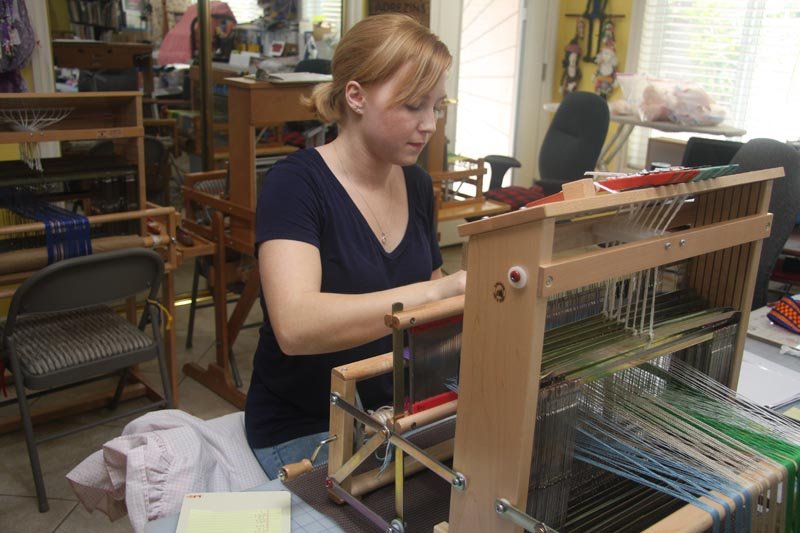
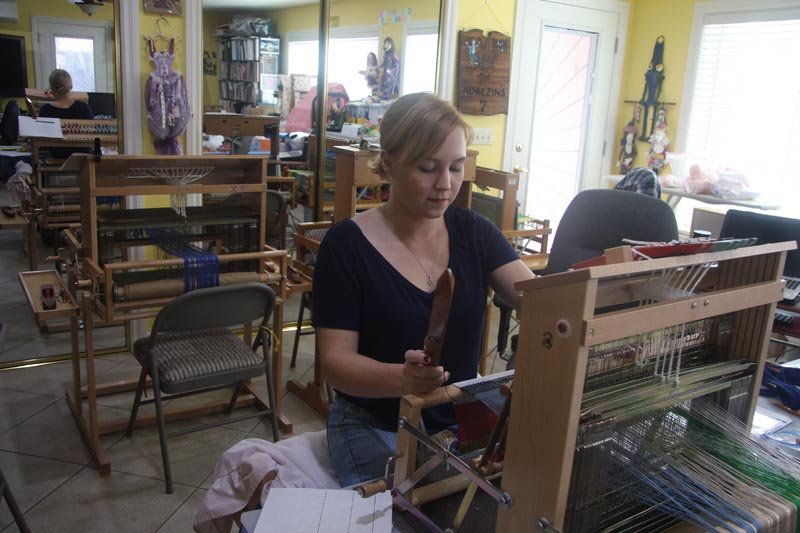
Weaving in progress.
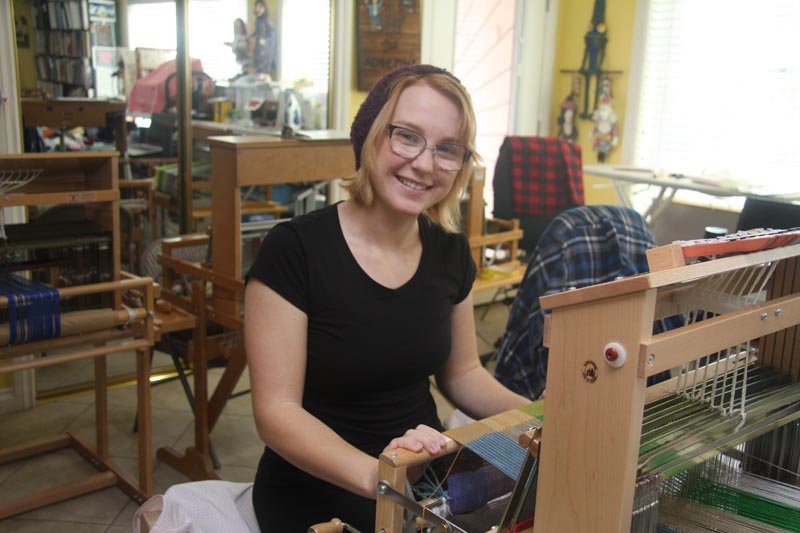
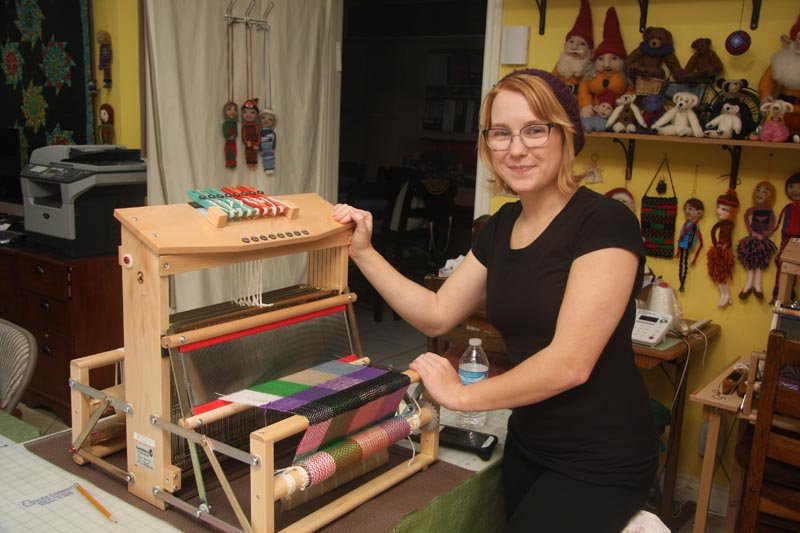
A happy weaver.

Winding the weft on my bobbin winder.
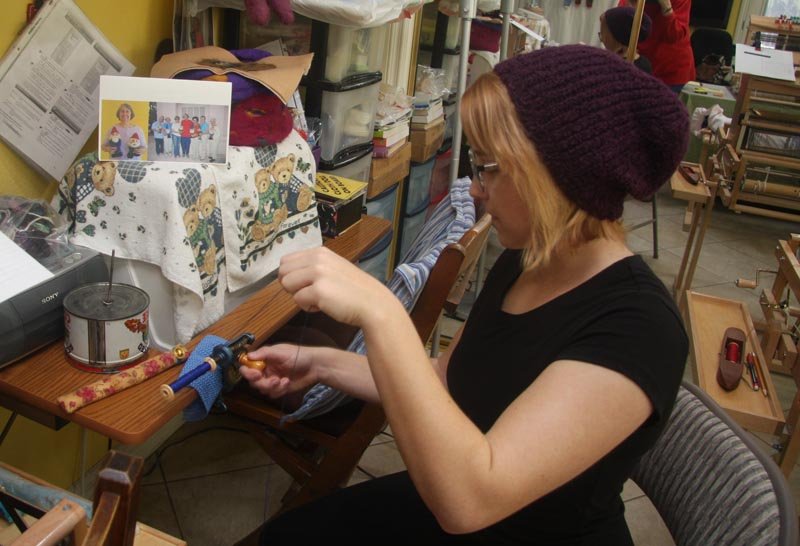
Knowing how much to wind on the bobbin is important.
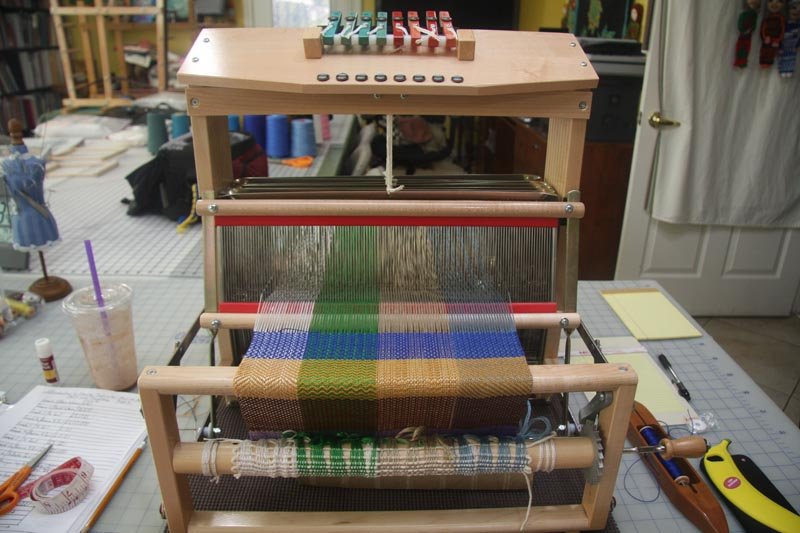
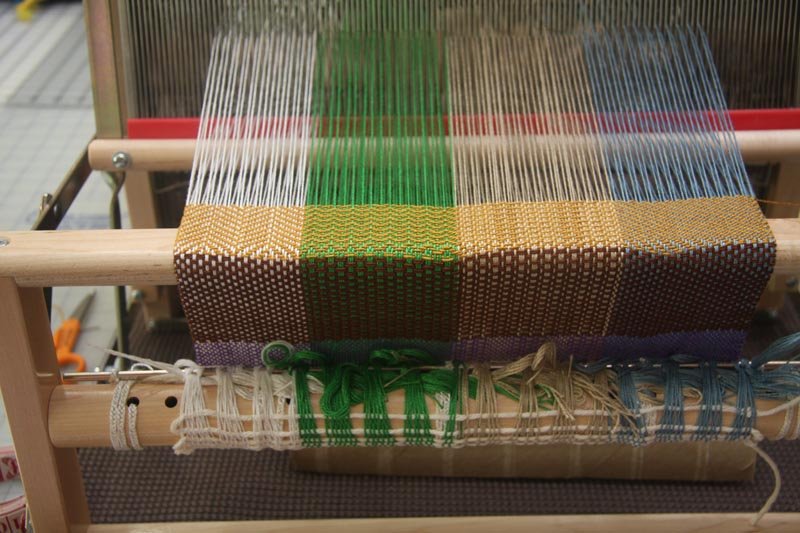
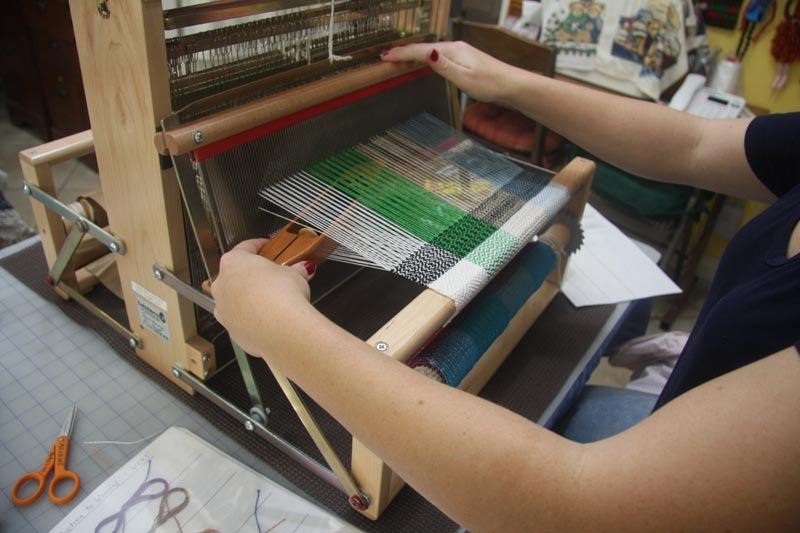
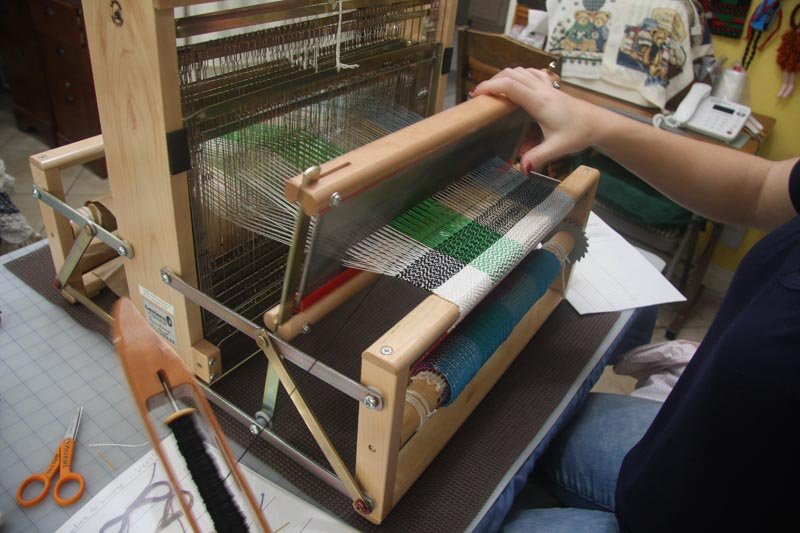
Four different patterns across the warp.

Beautiful weaving - a close-up.

Weaving continues.

More colors - weft are added.
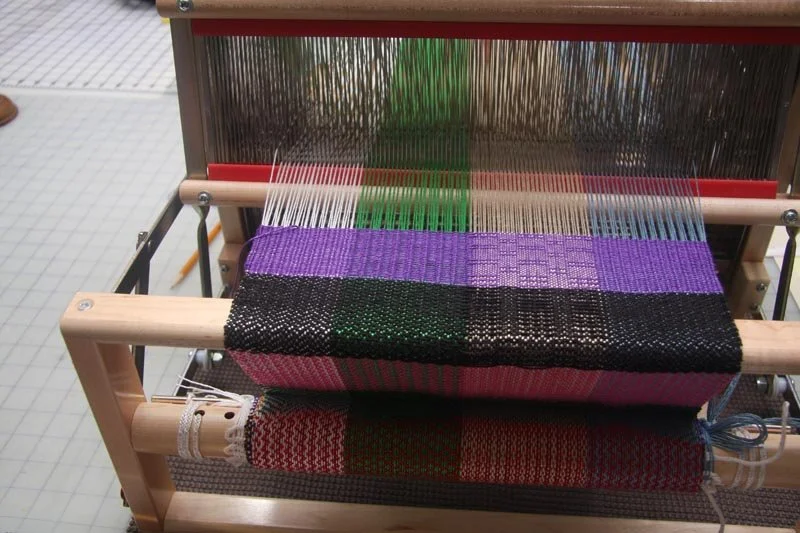
Closeup of the top.
A good afternoon's weaving.
Putting the shuttle through the shed.
Weaving continues.

And continues.
Looking great.
Beating your weaving with the reed.

Pressing the levers down opens the shed.
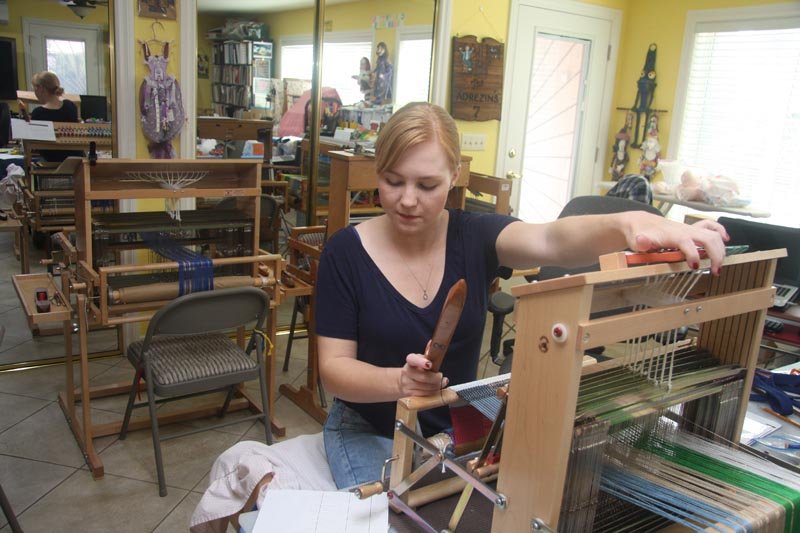
Following the pattern is important.
Beautiful weaving takes time and concentration.
Avalon's sampler is coming off the loom.
Close-up of her weaving.
Additional close-up.
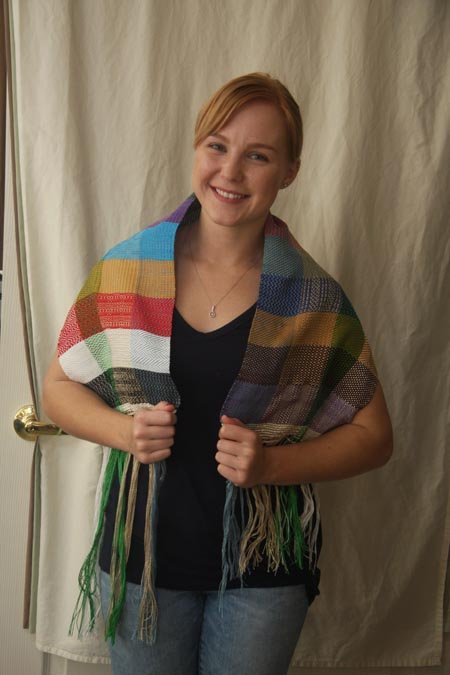
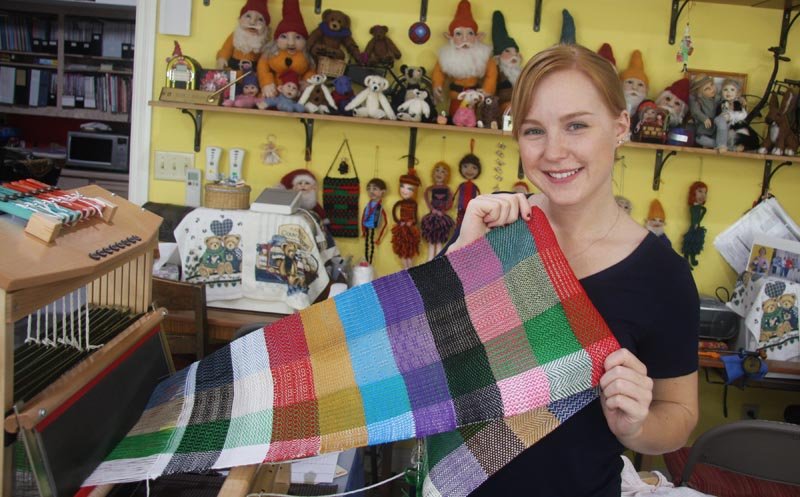
Avalon is modeling her sampler scarf.
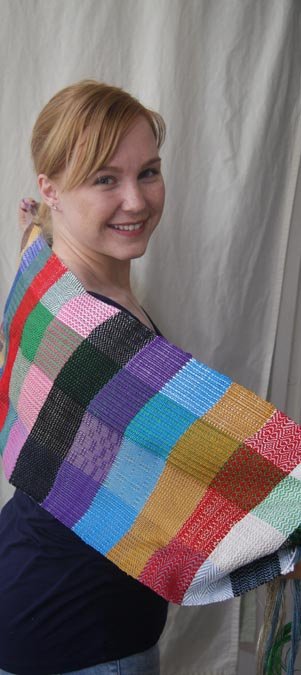
Beautiful side view of Avalon and her sampler.
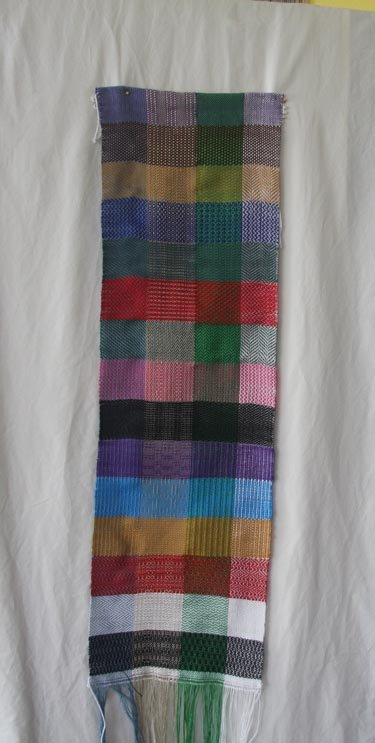
Close-up of Avalon's sampler - Side 1.
Close-up of Avalon's sampler - Side 2.
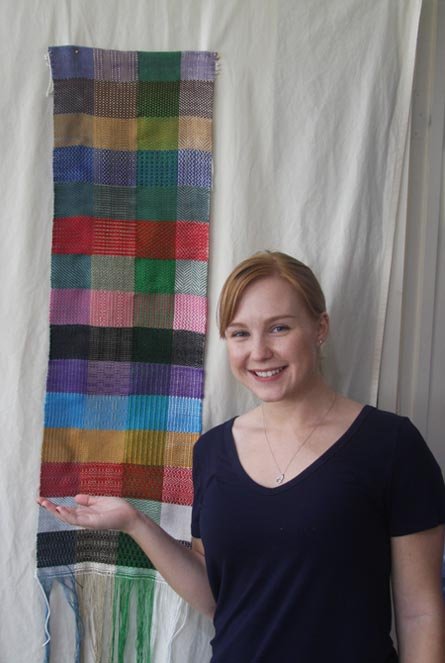
Avalon and her sampler - Side 1.
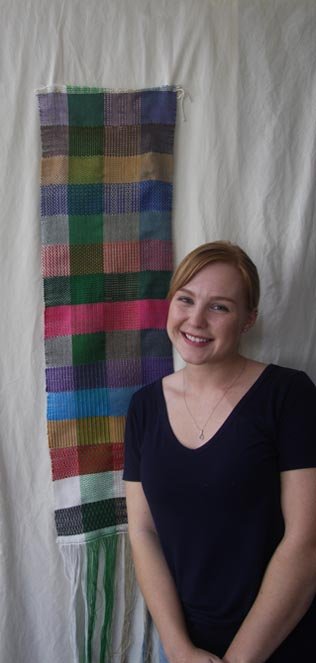
Avalon and her sampler - Side 2.