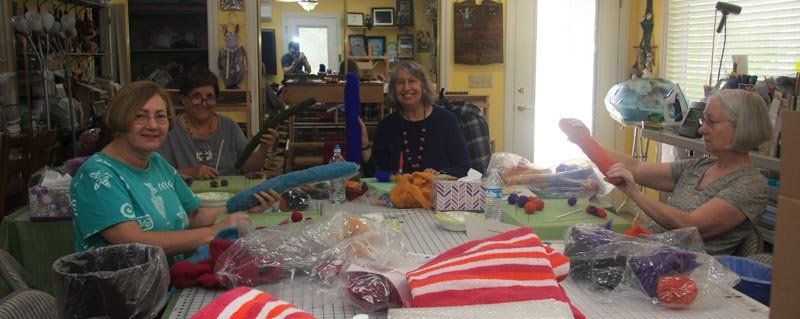
My Students
July 9, 2016 — Jane, Nancy, Tammy — "Needle and Wet Felted Jewelry"
I just taught my “Needle and Wet Felted Jewelry” class to three wonderful students, Jane Kelly, Nancy Shinder and Tammy Harper. They had seen the needle and wet felted jewelry that I had made and wanted to learn how to make it too.
In this one day class they received from me instructions, felting needles and various size dowels and fleece in batt form. I provided them each with a large foam mat on which to needle felt their fleece, a bath towel, a large plastic bowl to hold warm / hot water and Ivory liquid soap, a bamboo mat and bubble wrap for rolling their fleece on plus any extras that I felt they might need.
They each started with 3 or more colors of fleece in batt form. They separated their fleece and laid it on their foam mat and needled it into the shapes they wanted. This was done in the morning. After lunch we went into my kitchen and they wet their fleece and rolled and rubbed their pieces in order to shrink their fleece and shape it the way they wanted it to look for their jewelry. After that was done they used a scissor or a knife to cut the long rolls that they made. They will finally string their fleece when they get home.
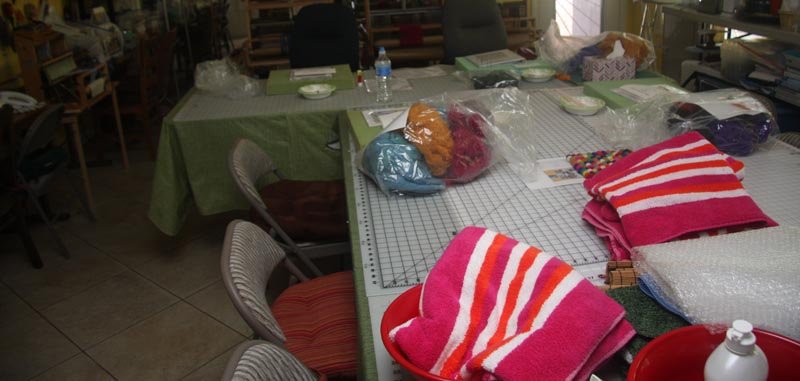
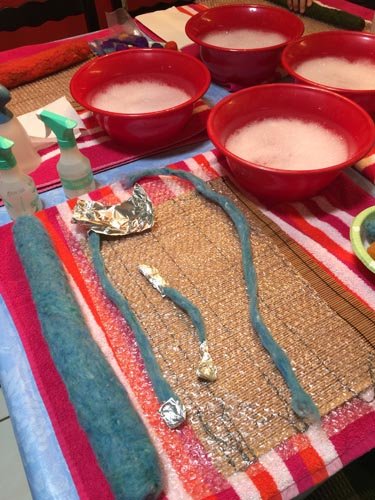
Towels and fleece are ready.
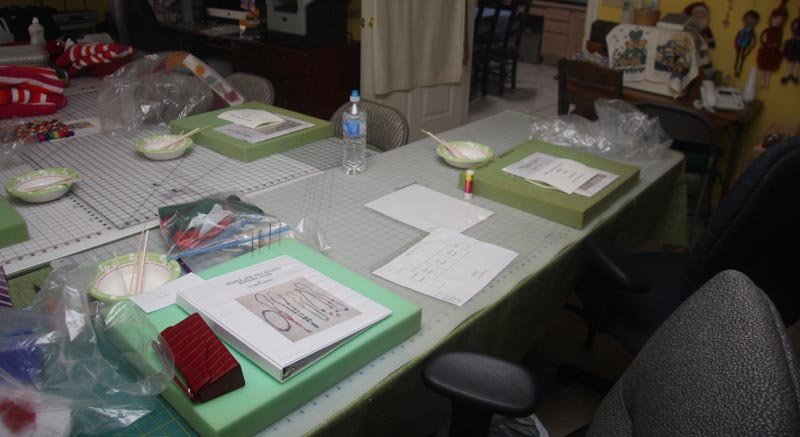
Notebooks, felting needles and felting foam are all set.
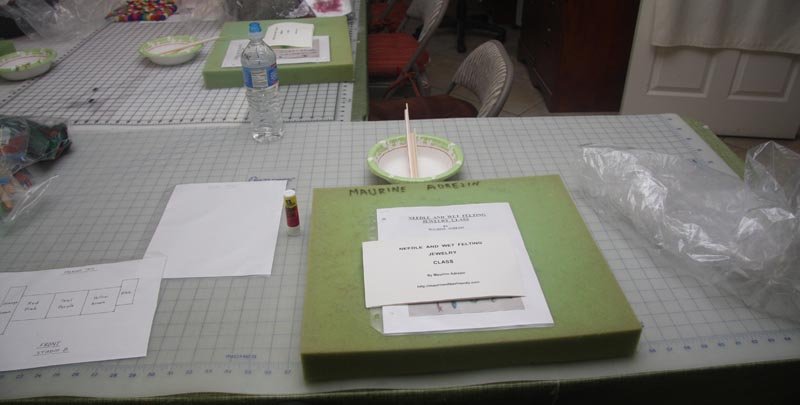
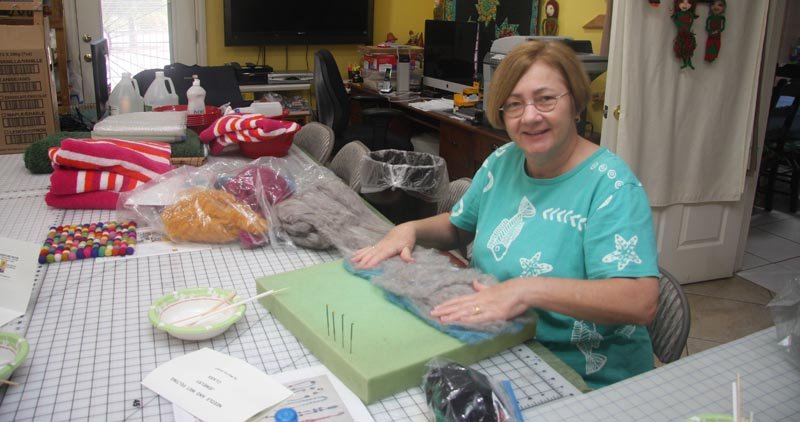
I'm ready for my students.

Tammy is laying out her fleece.
Jane is arranging her fleece.
Nancy is choosing her layers for her fleece.

The fleece must be arranged carefully.

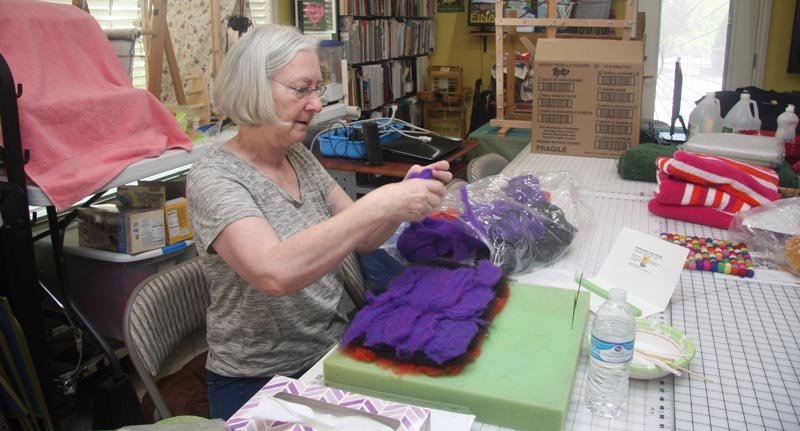
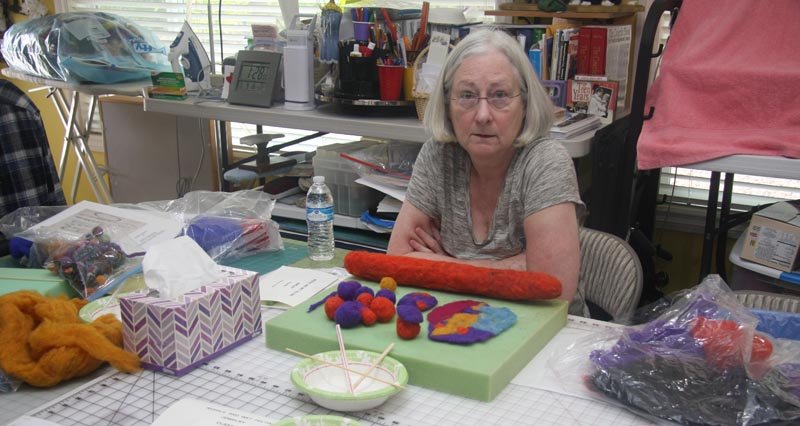
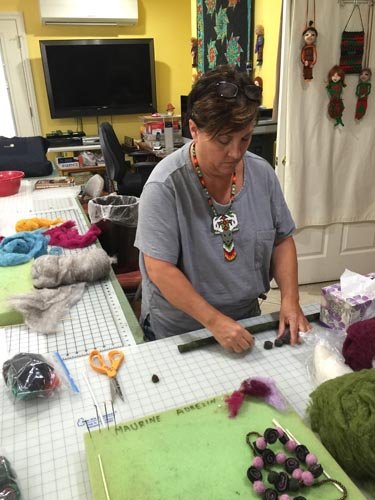
These are my colors (Maurine).

Nancy is carefully rolling her 3 colors of fleece together.

Tammy is needle felting her layers together to make it nice and smooth and even.

Jane is so pleased with her wonderful felted roll.
All sides should be even.
Using the felting needles smoothes everything out.
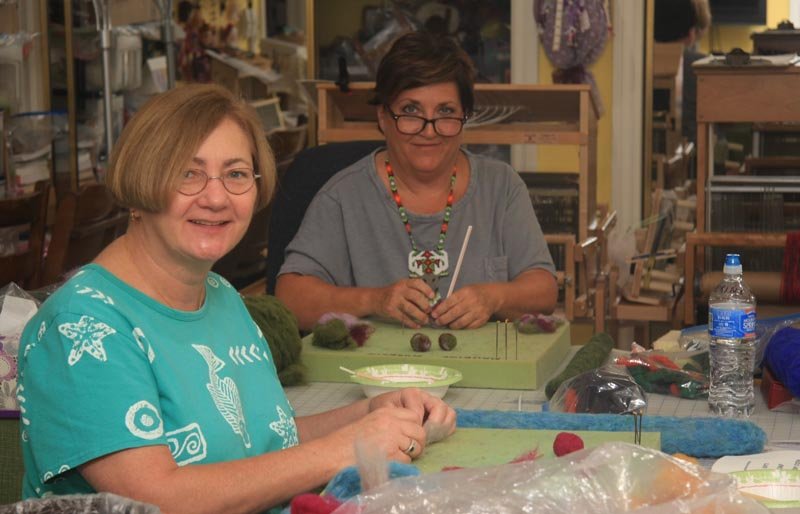
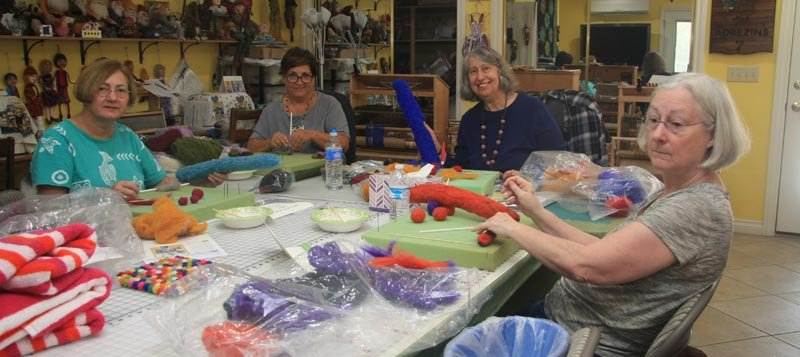
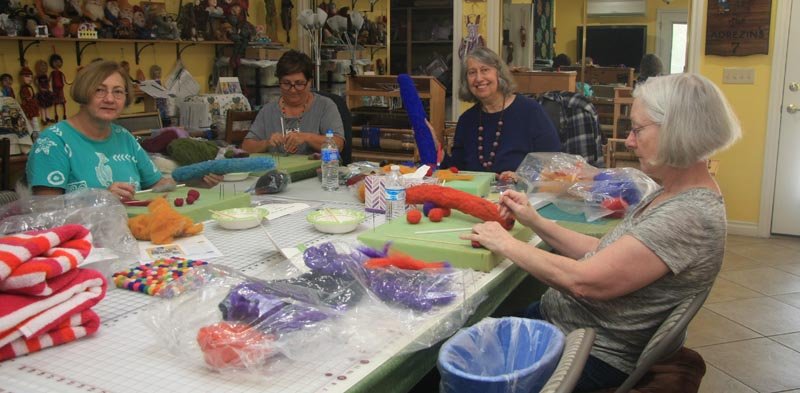
Close-up of Nancy and Tammy.
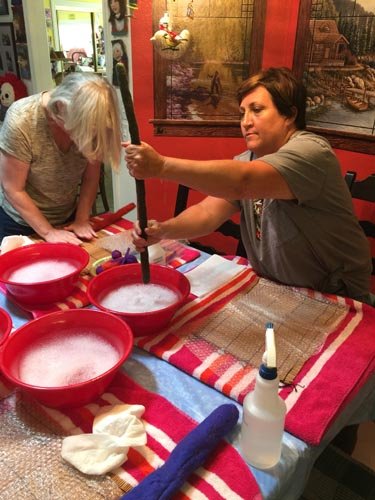
Group pictures.
Time to work again on our fleece.
Time to work again on our fleece.
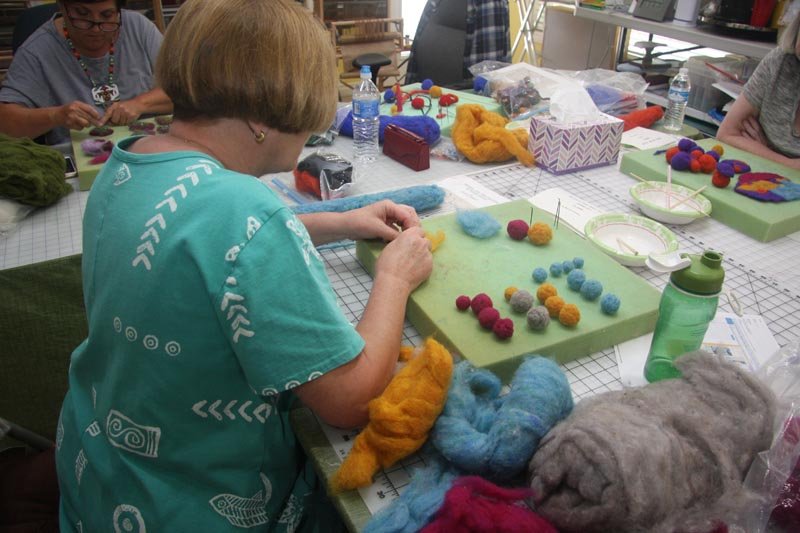
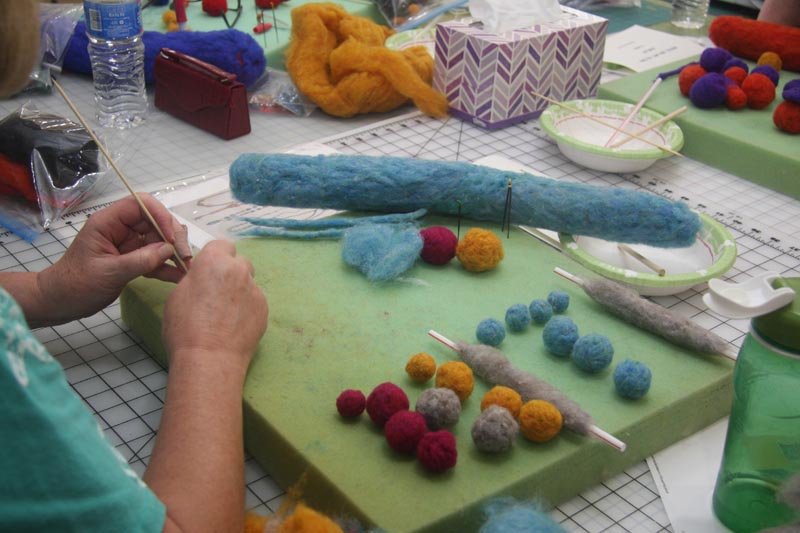
Round felted balls are needed for our beads.
Jane's pieces are all set to be wet felted.
Tammy has her pieces ready to be wet felted.

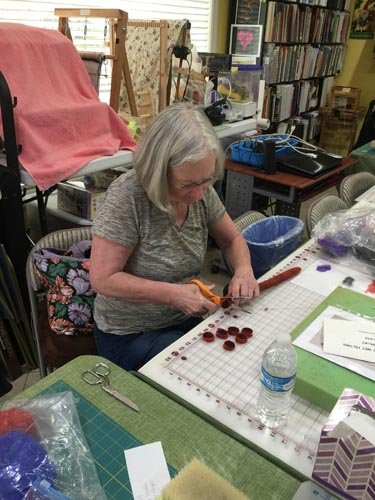
Close-up of Tammy's pieces.

Close-up of Jane's pieces.
Close-up of Nancy's pieces.

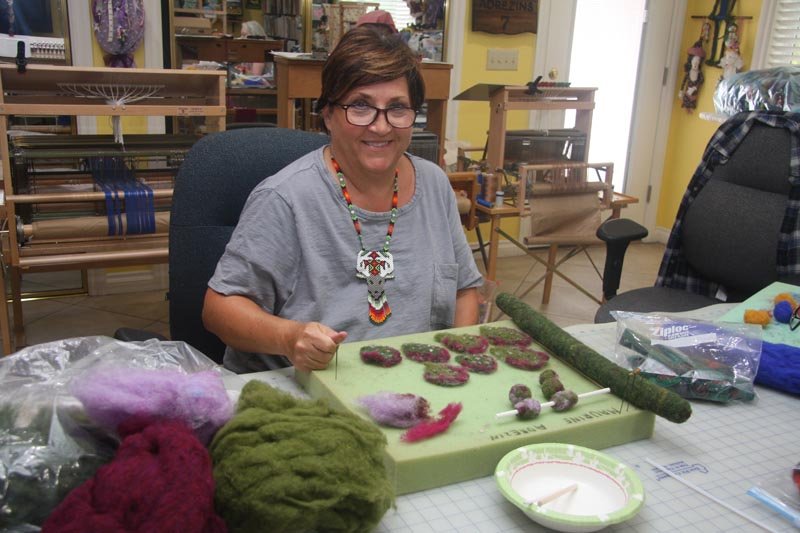
A very happy, creative Nancy.
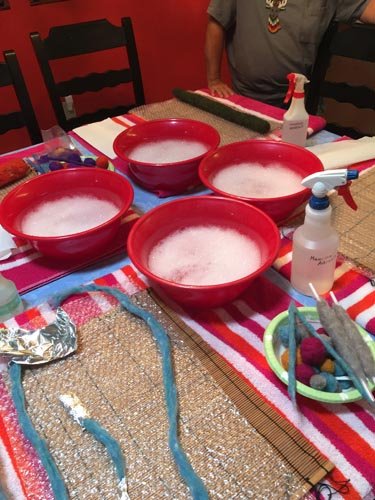
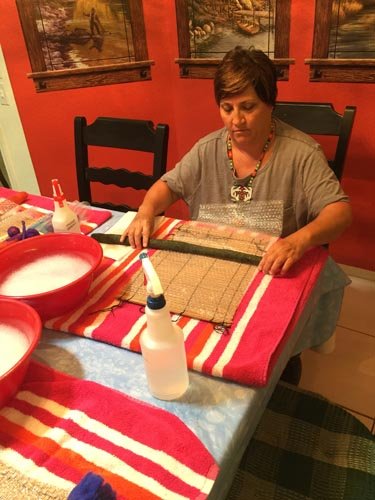
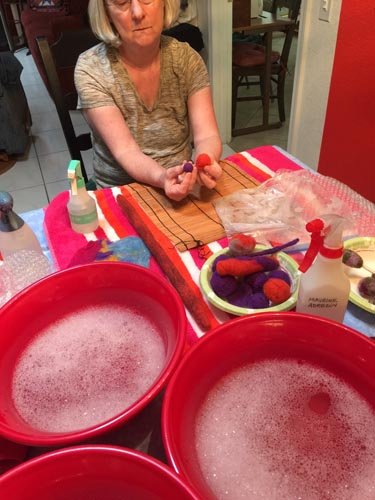
Bowls are ready for wet felting.
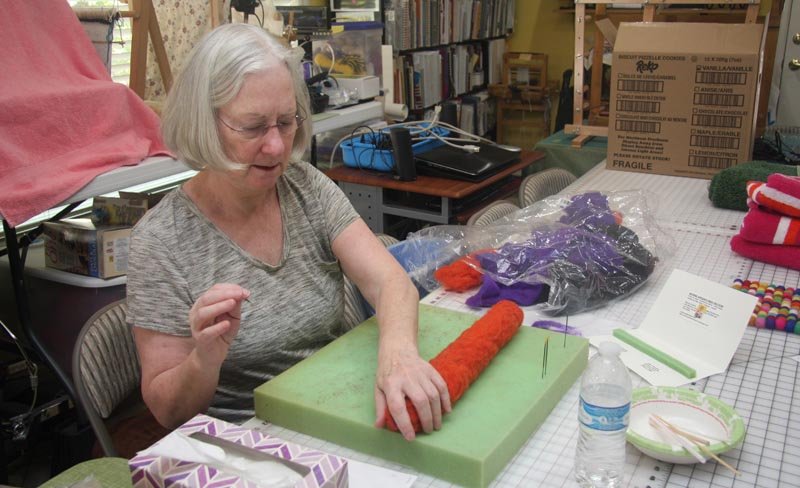
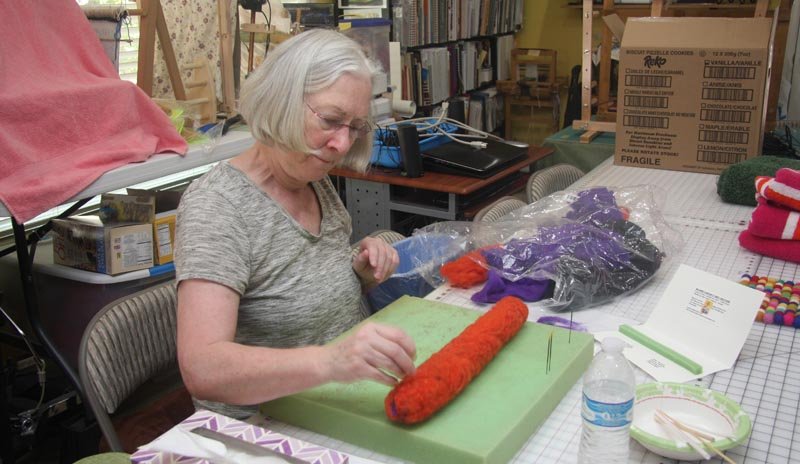
In blue - Nancy's felted rope has shrunk due to wet felting it.

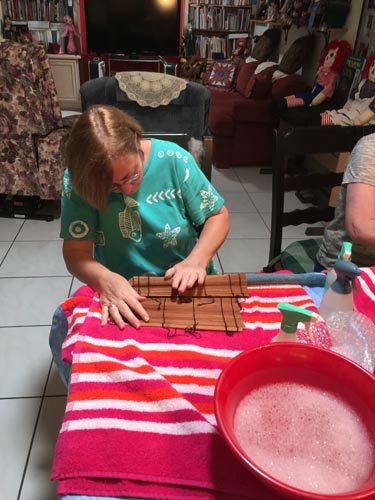
Tammy is arranging her bubble wrap to put friction on her rolled felted piece to shrink it.
As Tammy is rolling her piece it shrinks nicely.

Putting even pressure on the fleece is important.
Nancy's roll looks nice and smooth and even.

Jane's roll looks great. The more pressure you put on the fleece the thinner it gets.

Looking great.
Look how wonderful Tammy's long, slim roll looks from placing it in warm to hot water with soap and rubbing and squeezing it out.

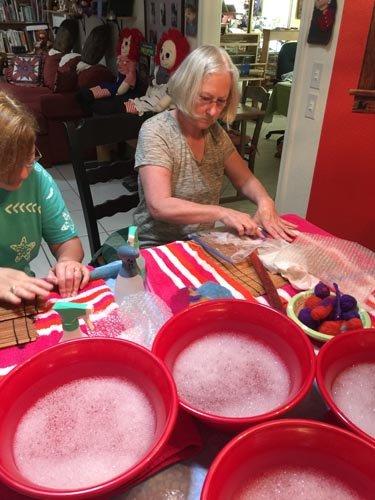
Nancy and Jane are doing great.

The more you roll and wet and squeeze the better your jewelry will be.

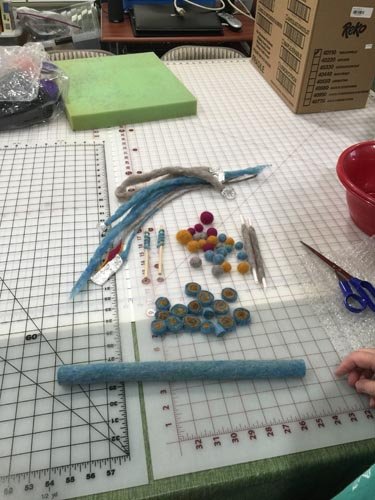
This is a picture of my roll on a bamboo mat.
See the two sizes of balls. One has been wet felted and the other one hasn't.
For making flat pieces you can put your needle felted shape into a zip lock bag with warm water and soap and rub and rub and rub to felt it.
Nancy keeps rolling.

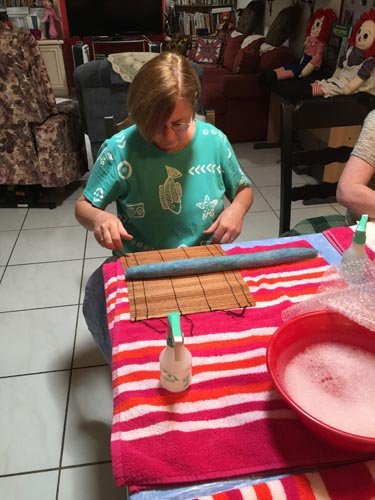
Tammy is making flat pieces for a flower.

Great job Nancy.
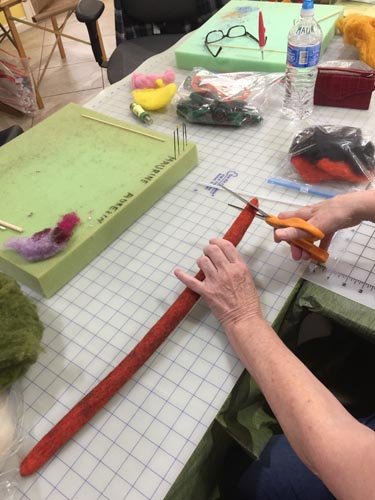
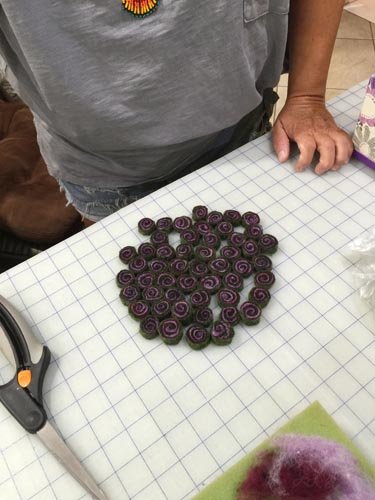
Jane is starting to cut her nice slim roll into slices.
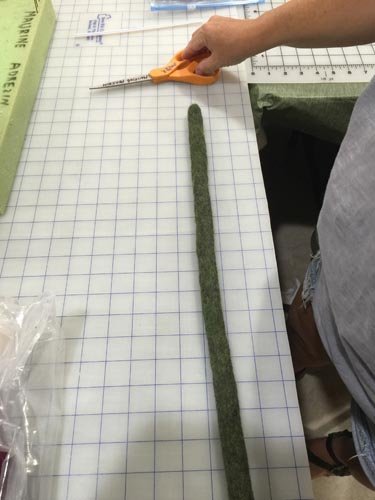
Tammy's slim roll is ready to cut into slices.
Tammy is slicing her roll.

Nancy is slicing her roll.
Jane is slicing her roll.
Nancy's sliced pieces.
Tammy's sliced pieces.

Jane and her sliced pieces.
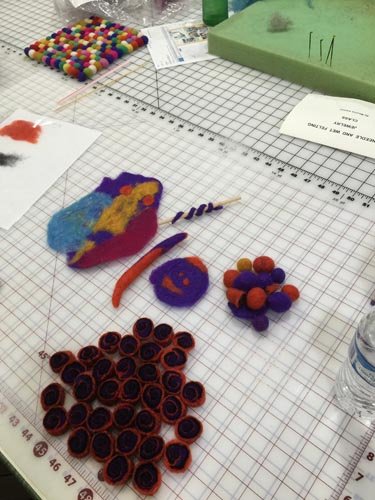
Close-up of all the pieces that Jane felted during class.

Tammy and her felted pieces.

Close-up of Tammy's felted pieces.

Close-up of Nancy's felted pieces.
More of Nancy's felted pieces.

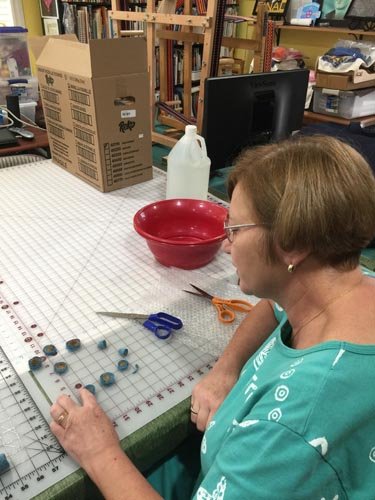
Picture of Nancy's finished jewelry.
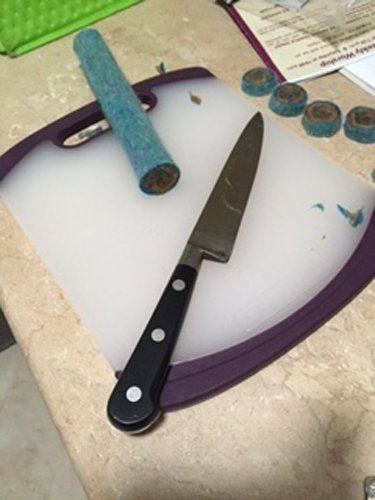
Knife that Nancy used to cut her felted roll.

Maurine wearing her needle and wet felted necklace.